Nobody has ever called us up excited about prep. People call about color. They call because the trim is peeling or the stucco looks tired or they are selling in the spring. Then we show up and spend the first two or three days of the job washing, scraping, patching, caulking, and priming, and the house looks worse on day two than it did on day one. That part is normal. That part is the job.
Here is the thing that fifty years teaches you. Paint does not fail because somebody bought cheap paint. Paint fails because it was put on top of something it could not stick to. Chalk, dust, gloss, oil, a loose edge, a soft board, a caulk joint that was smeared instead of cut out. The finish coat is the easy part and it is the part that photographs. Everything that determines whether the job lasts eight years or three happens before the first finish coat gets opened.
So this is the checklist we run, written out the way we would explain it standing in your driveway.
Step One: Wash It, and Wash It Right
Every exterior we touch gets washed. Not rinsed. Washed. There is a difference and it matters more out here than most places.
Inland Empire houses collect a specific kind of grime. Fine dust off the freeways and the open land, agricultural dust in the Norco and Eastvale stretch, road film, and then a layer of chalk from the old paint itself. Chalk is the powder you get on your hand when you rub an old sun-baked wall. That is the binder in the old paint breaking down and releasing loose pigment. You can put the best acrylic made in America over chalk and it will peel off in sheets, because it is not stuck to the wall. It is stuck to powder that is sitting on the wall.
So we wash with the right pressure for the substrate, and pressure is the part people get wrong. Too much pressure on stucco drives water behind the finish and blows out hairline cracks into real ones. Too much on wood siding raises the grain and cuts fuzzy tracks into the boards that will telegraph right through the paint. We use enough to move the dirt and the loose chalk and not a pound more, and on some surfaces that means a soft wash with a cleaner and a brush rather than a wand.
Then we let it dry. All the way. Stucco especially holds water, and putting primer over a wall that is still damp underneath is a good way to get blisters two months later. In summer that might be the next morning. In January in Yucaipa after a wet week, it might be three days. We wait. Anybody who washes and paints the same day on stucco is telling you something about how they work.
Step Two: Scrape to a Sound Edge
Wherever paint is failing, it comes off. That sounds obvious and it is the single most common place bids differ from each other.
Scraping is not just knocking off the stuff that is already flapping in the wind. Anybody can do that. Real scraping means working the blade past the visible failure and out into the surrounding paint until you hit an edge that will not lift. You push the scraper under and if more comes, you keep going. If it holds, that is your sound edge. It usually means you take off considerably more paint than looked bad from the ground, and that is exactly the point. If you stop at the edge of the obvious failure, that new coat will lift the neighboring paint within a year or two because you left it hanging there with nothing under it.
On old wood, fascia boards, window sills, and door casings especially, this is slow and it is hand work. There is no shortcut. And while we are in there scraping, we are finding things. A sill that is soft in the middle. A joint that has opened. A section of trim where the water has been sitting for years and the wood is punky. That gets called out and handled with real wood repair, which means cutting back to solid material and replacing it. Filling soft wood with body filler and painting over it is a trick, not a repair, and it will come back in two seasons.
The other half of scraping is sanding what you scraped. A scraped edge is a hard step down from the old paint to the bare surface. If you prime and paint straight over that, you can see every edge in raking light, and on a sunny wall that is every afternoon.
Step Three: Feather the Patches So They Disappear
Feathering is where the craft lives, and it is invisible when it is done right, which is exactly why it gets skipped.
After scraping you have got these islands of bare substrate surrounded by sound old paint, with a ridge at every boundary. Feathering means sanding that boundary down into a long gentle taper so there is no step to catch light. Done properly you should be able to run a hand across the transition and not feel where it is. On flat trim we work that taper out several inches. On a big spot we go further.
Inside the house it is the same idea on drywall. When we do patch and drywall work, the patch itself takes about twenty minutes and the feathering takes an hour, because a patch that is technically flat but has a hard edge will show as a halo the moment there is any light down the wall. We work the compound out wide, sand it, look at it in raking light with a work light held flat to the wall, and go again if it needs it. Then the texture has to match, which is its own skill and its own hour.
Here is the test we use. Before primer, we take a light and hold it almost flat against the surface so it rakes across. Every ridge, every edge, every sanding scratch shows up as a shadow. If you can see it under a raking light on bare substrate, you will absolutely see it under afternoon sun with the finish on it. Paint does not hide anything. Gloss and sheen make surface defects worse, not better.
Step Four: Caulk Gets Cut Out, Not Smeared Over
This is the one we could talk about all day, because it is where fast crews save the most hours and where the customer pays for it soonest.
Old caulk fails. It gets hard, it shrinks, it pulls away from one side of the joint, and it cracks. When that happens the joint is open, and an open joint on an exterior is a doorway for water. The correct fix is to cut the old caulk out. You run a blade down both sides, dig the old bead out of the joint, clean the joint faces, and lay a new bead into clean material where it can grab both sides properly and stay flexible.
The fast version is to run a new bead of caulk right on top of the old cracked one. It looks fine on the day. It looks fine at final walkthrough. What has actually happened is a new bead stuck to a failed bead, and the failed bead is still attached to only one side of the joint. When that joint moves with the next hot spell, the whole sandwich pulls open and now you have a wider crack than you started with, plus water sitting in it. We have opened up plenty of joints on repaint jobs and found three and four layers of old caulk stacked on top of each other, which tells you the last three painters all took the same shortcut.
The other half of caulking is knowing what not to caulk. Not every gap on a house is supposed to be sealed. The bottom edge of some siding, certain weep points, the gap under a window sill in some assemblies, those are drainage paths. Seal them up and you trap water inside the wall where you cannot see it doing damage. Knowing which gap is a defect and which gap is doing a job is the difference between caulking done as a trade and caulking done as a habit.
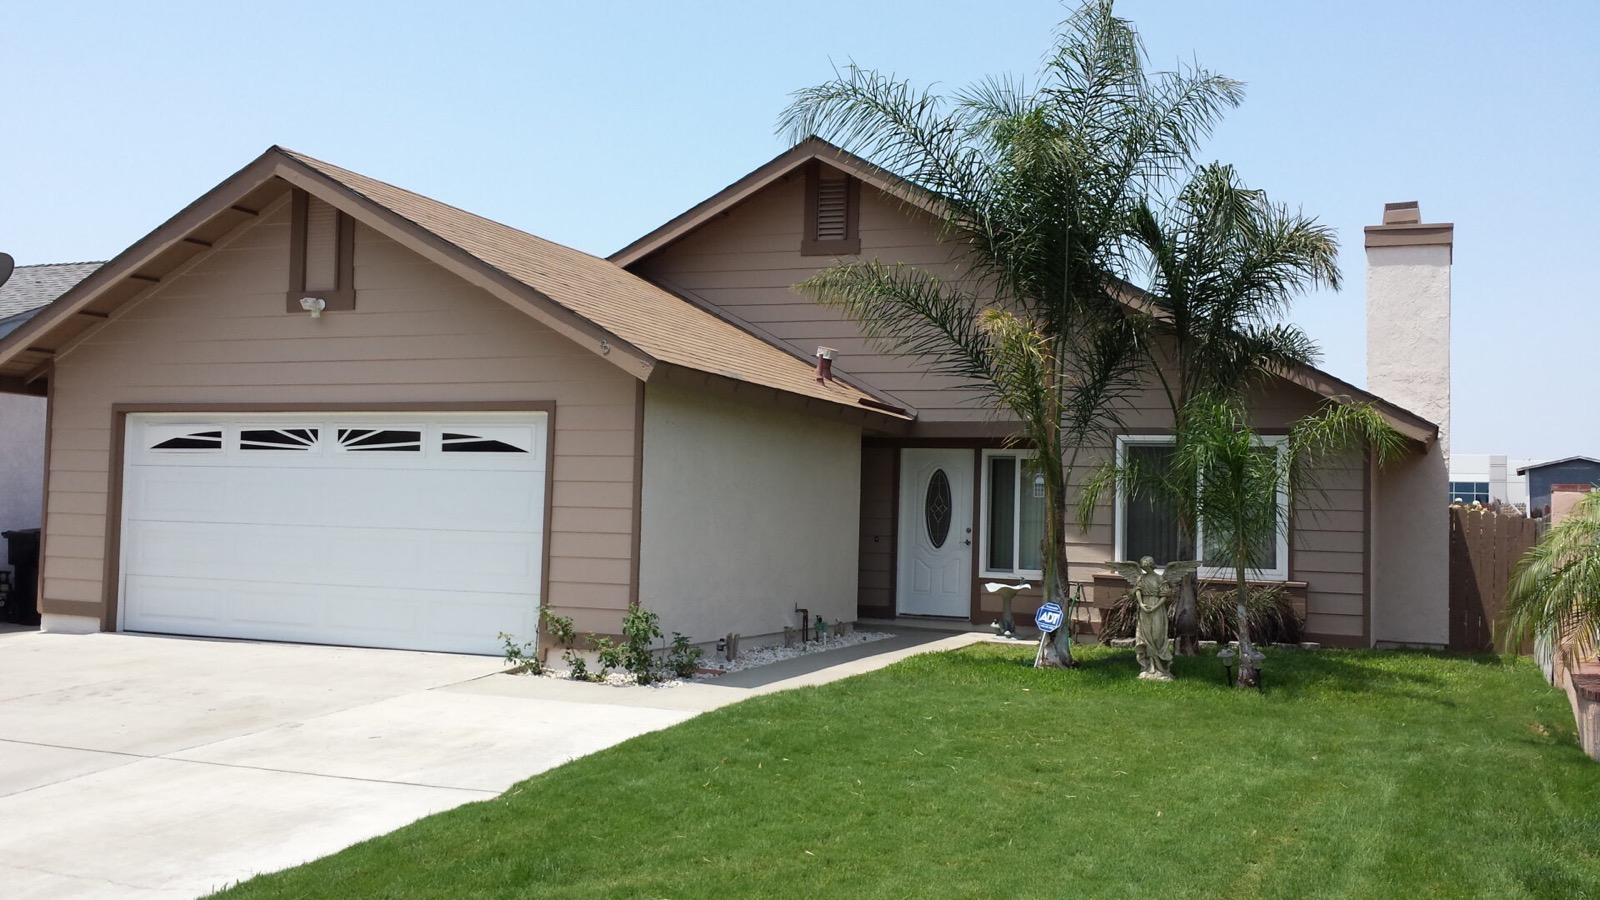
Step Five: The Right Primer for the Actual Substrate
There is no such thing as a general purpose primer that is right for everything, and anybody who carries one product for every situation is guessing. Primer is a specific tool for a specific problem, and on a normal house we might use three different ones.
Stain-blocking primer is for anything that will bleed through. Water stains on a ceiling, tannin bleed out of redwood or cedar, smoke damage, marker, rust weeping from a nail head, knots in new wood. These get sealed with a product built to lock that stain down, usually a shellac or an oil-based blocker depending on what we are fighting. Skip this and you get a brown halo coming through your fresh white ceiling in about a week, and no amount of additional finish coats will stop it. That is not a paint problem, that is a chemistry problem, and it has to be solved at the primer.
Bonding primer is for surfaces that paint does not want to hold onto. Glossy old oil-based enamel on trim and doors. Previously varnished woodwork. Tile, laminate, some metals, the slick factory finish on a fiberglass door. Bonding primer is designed to grab a surface with no tooth. On interior trim that has been oiled and enameled over decades, we scuff sand and then bond prime, because acrylic straight over old glossy oil will scratch off with a fingernail six months in.
Masonry primer is for stucco, block, concrete, and brick. Fresh stucco and concrete are alkaline, and that high pH will eat an ordinary primer and cause the finish to fail and discolor. A masonry-rated primer is built to handle that alkalinity and to seal a porous surface so the topcoat does not sink in unevenly and dry blotchy. On a repaint over chalky old stucco, the right masonry conditioner is what glues the remaining chalk down and gives the new coat something real to hold. If we are doing a full stucco repaint, what goes down before the color is at least as important as the color.
We also spot prime rather than blanket prime when blanket priming is not called for, and we blanket prime when it is, which is most color changes going lighter, most heavily chalked walls, and most surfaces where more than a third of the area got scraped to substrate. Choosing correctly there is a big part of what priming as its own line item actually covers.
Step Six: Masking Is Finish Work, Not Cleanup
People think of masking as the boring part before the real work. It is not. Masking is what produces the lines you will look at for the next decade, and a job with sloppy lines reads as a cheap job no matter how good the paint underneath is.
Good masking means tape that is pressed down properly along the whole length so nothing bleeds under it. It means the right tape for the surface, because a high-tack tape on a freshly painted or delicate finish will pull the finish off when it comes up, and a low-tack tape on rough stucco will not hold at all. It means paper and plastic that actually covers, so windows, glass, hardware, light fixtures, the roof edge, the concrete, the plants, and the neighbor’s car are all out of the line of fire.
It also means pulling the tape at the right time. Pull too early on some coatings and you smear the edge. Wait too long and the paint film has cured across the tape line and comes off in a ragged strip. There is a window, and knowing where it is for the product you are using is experience, not instruction.
The other thing masking does is protect somebody’s house. We are working around people’s homes, their plants, their driveways, their cars. Overspray on a driveway does not come off. Overspray on a car really does not come off. Taking an extra hour to cover things properly is not slow, it is the price of not damaging somebody’s property, and we would rather eat that hour than have that conversation.
Half the Hours, None of the Photos
Here is the honest arithmetic on a real exterior repaint. On a typical house out here with some age on it, prep runs somewhere near half of the total labor hours, and on a badly weathered house it runs more than half. Washing, drying, scraping, sanding, feathering, wood repair, cutting and running caulk, spot and blanket priming, masking. Then the finish coats go on and, on a well-prepped house, they go on fast and easy and look effortless.
Not one hour of that shows up in a photograph. The before picture shows a tired house. The after picture shows a fresh one. Everything in between is invisible, which means it is the easiest thing in the world to cut and the hardest thing for a homeowner to check. That is exactly why it gets cut.
John went into business for himself over this. He was working for an outfit that would put half the paint on a house that the job called for and pocket the rest, and as a Christian man that never sat right with him or his conscience. So he made it his mission to do right by everybody, and that is still how this shop runs. We use the manufacturer specified amount of paint on all surfaces, on every quote, before we start. If the finish does not look right to you, you have got a real complaint and we will hear it. That is the only way we know to make invisible work checkable.
How to Read a Bid and See What Prep Is Really In There
If you are holding two or three numbers and one is noticeably lower, the difference is almost never the paint. Paint is a known cost and everybody buys from the same stores. The difference is hours, and hours means prep. Here is how to read for it.
- Look for the word “as needed.” Phrases like “scrape and sand as needed” or “caulk as needed” mean the painter decides later how much is needed, and the number is already set. Ask them to describe what they found on the walk and what specifically they are planning to do about it.
- Ask how many gallons. An honest bid can tell you, because they measured the square footage and they know the spread rate of the product. A number with no measurement behind it is a guess or worse. If nobody can tell you what is going on your house, you have no way of knowing whether it got thinned.
- Ask what primer, on what. If the answer is one product for the whole house with no distinction between the stucco, the bare wood, and the glossy old trim, that tells you what you need to know.
- Ask about the caulk specifically. “Are you cutting the old caulk out or running new over it?” It is a simple question and the answer separates people fast.
- Ask how many days before the first finish coat. On a weathered house, if the answer is that they are painting the same day they start, there is no prep in that schedule.
- Ask what they will do about the soft wood. If they walked the house and did not mention a single board, either the house is in unusually good shape or they did not look.
- Look at the dry time between coats. Rushing recoat on a hot Fontana afternoon locks solvent in the film and you get a soft finish that marks up and stays tacky in the heat.
You do not need to know the trade to ask these. You just need to ask them out loud and watch how comfortable the answer is. Somebody who prepped a thousand houses will happily talk about it for twenty minutes. Somebody who does not plan to prep will change the subject to color and schedule.
We would rather lose a job to a fair competitor who prepped properly than win one by cutting the part that makes it last. If you want to see how the work holds up on real houses across Riverside and San Bernardino counties, the gallery is worth a look, and the ones that still look right after eight years are the ones where the first three days were spent on a wash, a scraper, and a caulk gun. Same story on the inside, where a good walkthrough and consultation catches the drywall problems before anybody talks about sheen.
Come Get a Ballpark
If you want a number on your house, we will come walk it with you, tell you plainly what shape the surfaces are in, and write down what prep the job actually needs. That walk is free and there is no pressure attached to it. Reach us through our contact page or call the shop at (951) 685-1595. We work Jurupa Valley and out through Redlands, Upland, Rancho Cucamonga, Norco, and Lake Elsinore, and we have been doing it the same way for fifty years. If we cannot do it right, we would rather not do it. Drop us a line and we will come take a look.