Refinishing the stained wood the inland heat has dried out
Stained wood in a Moreno Valley house ages on its own clock. Front doors go gray on the sunny face, banister rails turn sticky where hands land every day, and mantels lose their depth until the grain looks flat. We strip what has failed, recoat what is still holding, and match the stain to the wood you are keeping. See finished pieces in the gallery, then have us come walk it.
☎ (951) 685-1595What dry inland air does to an indoor finish
Paint sits on top of wood as a skin. A stain soaks in, and the clear coat over it is all that stands between the fibers and the room. In a valley where summer air stays hot and dry for months, that clear coat slowly gives up its flexibility. It hazes, it hairline cracks along the grain, and in the spots that catch window light it wears through until the wood underneath turns gray and thirsty.
The pieces we get called about most are the ones people touch or look at daily. A front door that faces the afternoon. A banister worn pale along the top rail from years of hands. A mantel that dried out over a fireplace nobody uses in August. Built-in shelving, a hutch that came with the house, and loose pieces like trim rings, rails and small furniture parts round out the list.
Every one of those starts with the same honest question on the walk-through: is the old finish still bonded to the wood, or has it let go? The answer decides most of the job, and it is how our wood refinishing is planned before any sandpaper comes out.
From the test spot to the last coat
Test the old finish somewhere hidden
A spot on the back of a door or under a shelf lip tells us what we are dealing with. If the finish scratches off in flakes, lifts with tape, or has worn through to raw fibers, it has failed. If it is dull and scuffed but still hard and attached, it can stay as a base.
Strip a failed finish, scuff a sound one
Failed finish comes all the way off, because new coats laid over a loose film peel with it. A sound finish gets cleaned of hand oils and furniture polish, then scuff sanded so fresh coats have something to grip. Stripping costs more hours, so we only do it where the wood calls for it.
Raise the grain before it raises itself
Bare wood fibers swell when water touches them. On stripped wood, we often dampen the surface and let it dry, then knock the lifted fibers down with a light sanding. That way the stain and the first coat of a water based finish do not leave the surface fuzzy.
Sand lightly between every coat
Each coat of clear dries with a little nib and dust in it. A quick pass with fine paper between coats takes those off, so the next coat lays down glass smooth under your hand. Skip it and the rail feels like sandpaper by the third coat.
Matching the stain to the wood that stays
Most refinishing jobs are partial. The banister gets redone, the newel post and the stair treads beside it do not. The front door is refinished, the trim around it stays. So the new stain has to sit next to old wood and look like it belongs there, which is harder than it sounds.
Wood species take stain differently, and so do old and new surfaces of the same species. Oak drinks color into its open grain. Maple and pine can go blotchy unless they are conditioned first. A piece that has been stripped absorbs differently than one that was only scuffed. We mix and test on a hidden spot or a matching offcut, then hold it up next to the wood that stays, in your room’s own light, before anything goes on the visible face.
Built-ins finished where they stand
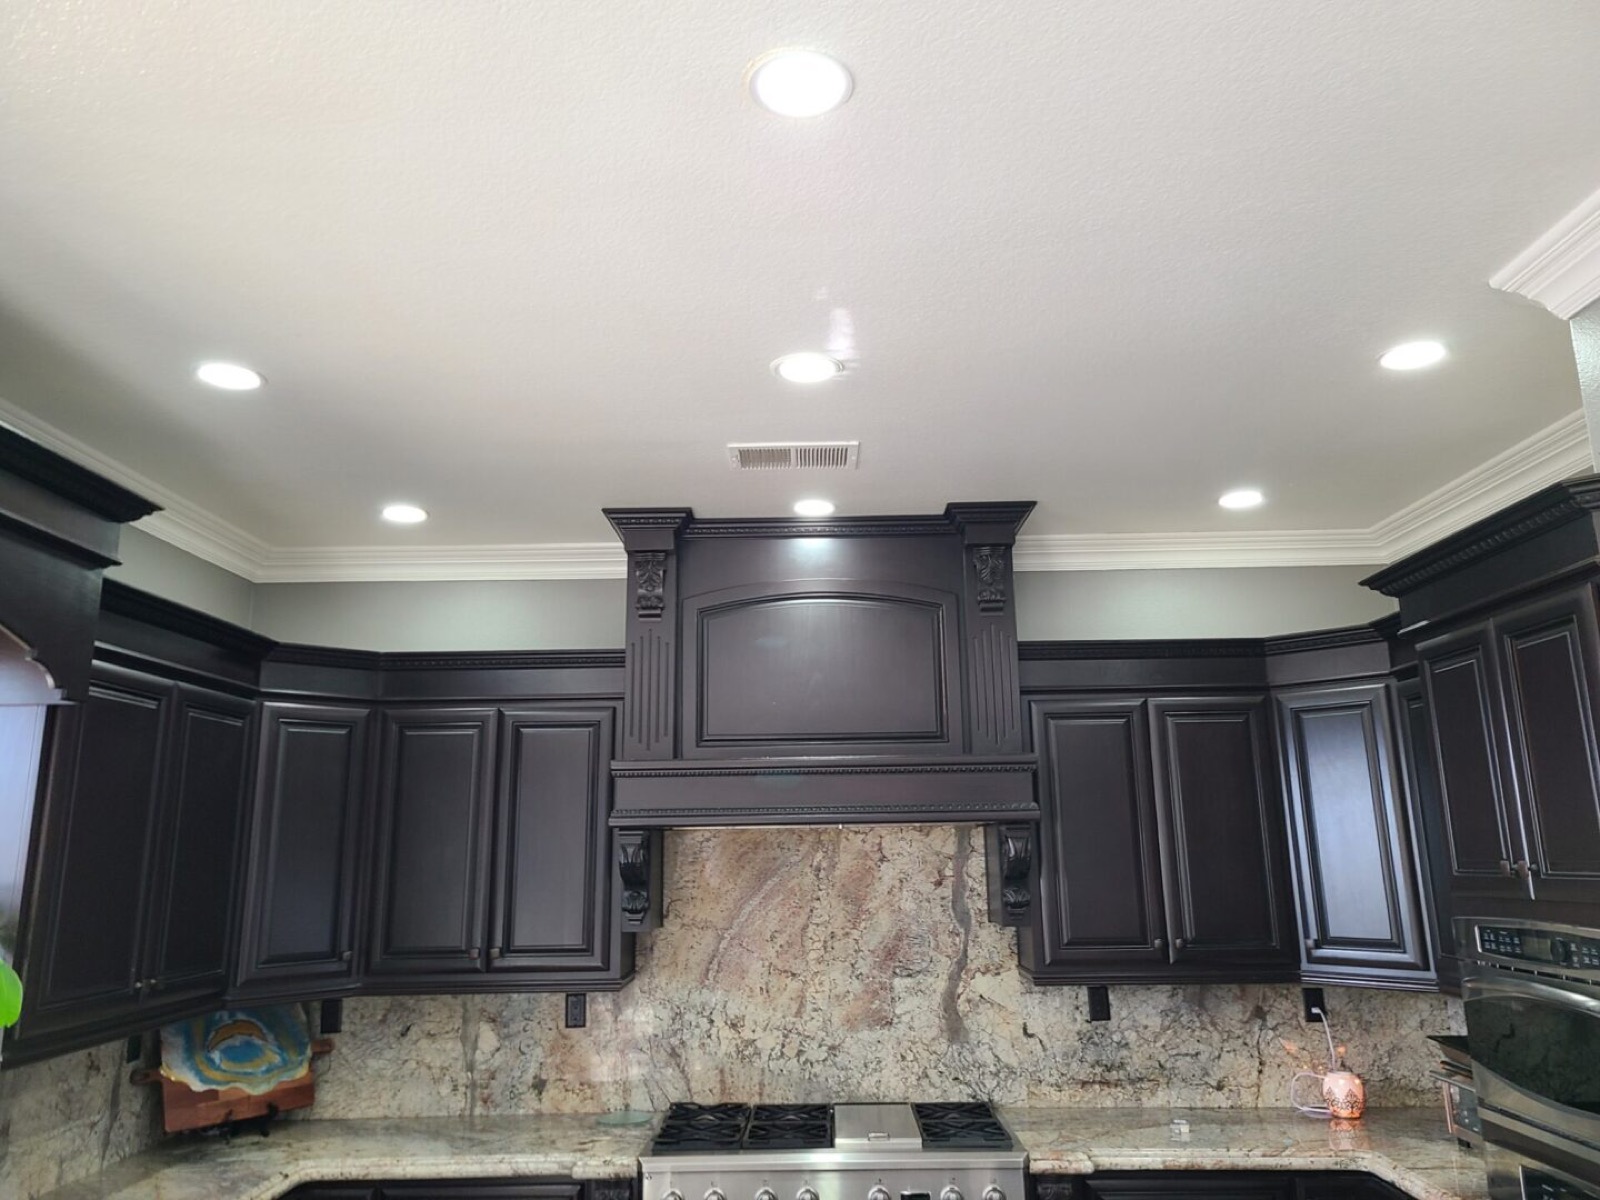
Cabinets, shelving and hutches that are fastened to the house usually get done in place. We mask the walls and floor around them, keep the dust contained, and work the deep stained finishes slowly so the color stays even from the top shelf down to the toe kick. A dark finish shows streaks faster than a light one, so the same full-coverage rule applies.
Where a rushed refinish shows first
On a handrail it shows as a tacky feel that never quite goes away, because the coats went on too heavy and too close together to cure. On a door it shows as blotches and lap marks where the stain was wiped unevenly. On a mantel it shows as a thin clear coat that wears through at the front edge from nothing more than ordinary dusting, and the gray comes right back.
All of those trace to the same two habits: rushing the prep and skimping on material. John left the company he used to work for because that second habit was policy there. Paint and finish got stretched to half of what the label called for, crews were told to keep moving, and he could not keep doing it in good conscience. On our jobs every coat goes on at the amount the manufacturer specifies, with the sanding between coats that the label asks for.
If someone already refinished a piece for you and it is failing early, tell us what happened. We will look at it and give you a straight read on whether it needs stripping again.
Same crew, other Moreno Valley jobs
Wood refinishing often turns up the next project in the same house. Here is what else we do on the Moreno Valley route:
- Kitchen Cabinet Painting
- Accent Wall Painting
- Garage Door Painting
- Shutter Painting
- Our full Moreno Valley page
When the wood just needs color
Bare or newly installed wood with no finish to remove is a staining job instead of a refinish. Our wood staining covers trim, paneling and new pieces, and door staining handles interior and entry doors that are going from raw to finished.
Loose pieces, cover, and the wait for cure
Anything that comes off the house gets finished lying flat. A flat surface lets stain and clear coat level out evenly instead of running and sagging the way they can on a vertical face, and it lets us coat every edge in one setup.
Finished flat, under cover
We lay the pieces out on drop-cloth covered tables in a covered, shaded spot, often a patio. The roof keeps falling dust and debris off the wet surface, and the shade matters just as much. Finish laid down in direct sun skins over before it levels, which traps brush marks and bubbles in the film. Hardware comes off first and goes back on last.

Dry is a different thing from cured
A finish can feel dry to your fingertip well before it is cured hard underneath. Dry means you can walk past it. Cured means it can take a hand sliding down the rail, a vase set on the mantel, or a door swung closed against its weatherstrip. We tell you the timing for the actual product on your job, and we ask that heavy use waits until then.
Refinishing work carries the same standard warranty of four years from completion that covers our painting. Set a time for us to walk it with you.
Wood refinishing questions from Moreno Valley homes
How do I know if the old finish has to be stripped?
If it is peeling, flaking, cracked, or worn through to gray wood, it has to come off. If it is only dull and scratched but still hard and bonded, a scuff sanding and fresh coats will do. We test a hidden spot first so the call rests on what the wood actually shows.
Can you match the new stain to trim or cabinets that are staying?
Usually very closely. We mix and test on a hidden spot or a matching offcut, then compare it next to the existing wood in your room’s own light. Different species take stain differently, so when a piece mixes woods we will tell you up front how close a match is realistic.
Can you refinish my front door without taking it down?
Sometimes. A door with a sound finish can often be scuffed and recoated where it hangs, with the hardware off and the floor protected. A door that needs full stripping usually does better laid flat under cover, where the finish levels out evenly. We make that call on the walk-through.
Why do you sand between coats of finish?
Each coat dries with tiny raised fibers and dust nibs in it, and the first coat of a water based finish raises the grain the most. A light sanding between coats knocks those down so the next one lays smooth. Skipping it leaves a rail that feels rough under your hand.
When can we use the banister or decorate the mantel again?
Light contact comes sooner than heavy use. A finish feels dry long before it has cured hard, and decor, hands and anything resting on the surface should wait for the cure. Timing depends on the product and the weather, so we give you the schedule for your specific job at the walk-through.
Should I refinish the wood or paint over it?
If the grain is good and you like seeing it, refinishing keeps it visible and can be done again years from now. Paint makes sense when the wood has mismatched repairs, damaged veneer, or a color you are tired of. Once we see the piece, we will tell you which one it really suits.
Let us look at the wood
Have the door, the rail, the mantel or the loose pieces handy when we come by. We will walk it with you, test a hidden spot if that helps the decision, and give you a number before we leave the driveway.
Set Up a Walk-Through